An email forwarder automatically redirects emails from one address to another — for example, from info@yourdomain.com to you@example.com. This is useful if you want to receive emails in a central inbox without creating multiple accounts.
🔐 Step 1: Access the Email Control Panel
If you're not already logged in, follow this guide:
👉 How to Access Your Email Control Panel
✉️ Step 2: Navigate to the Email Section
- In the control panel, click the Email tab
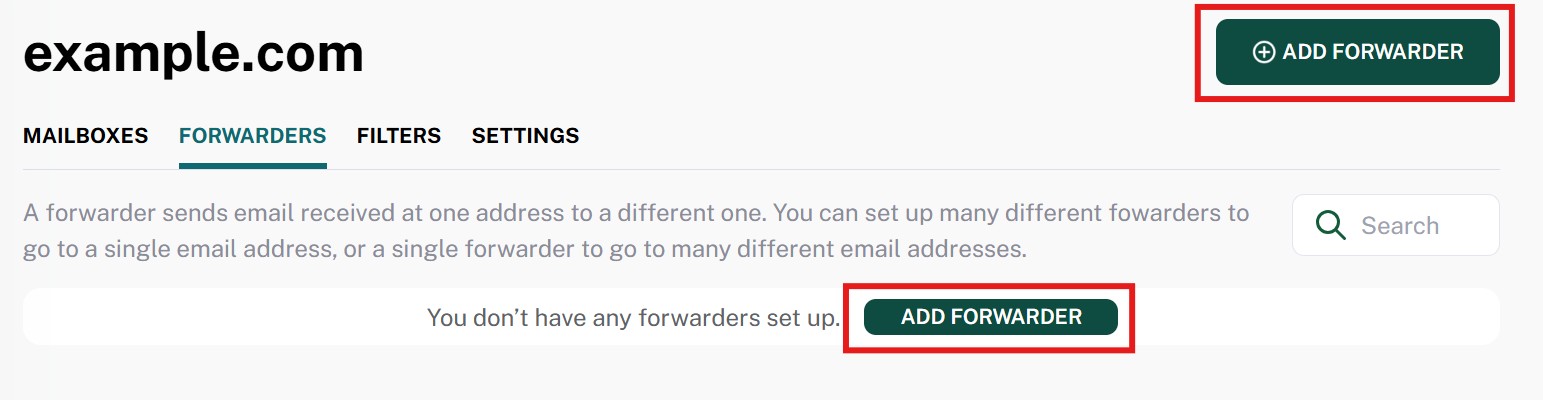
🔁 Step 3: Open the Forwarders Section
- Click on the Forwarders button under the Email section

➕ Step 4: Add a New Forwarder
- Click the Add Forwarder button
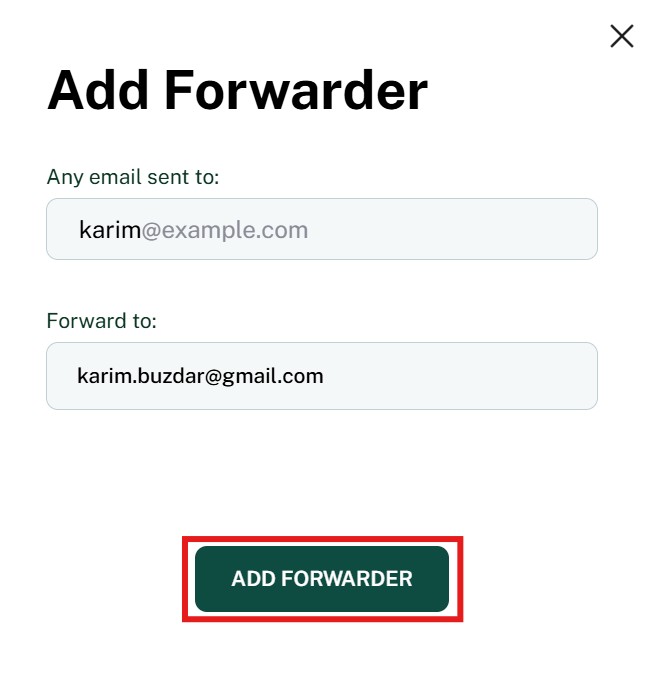
✏️ Step 5: Configure the Forwarding Rule
Fill in the form with the following:
-
Address to Forward – The mailbox you're forwarding from (e.g.
info@yourdomain.com) -
Destination Email Address – The email address you want messages delivered to (e.g.
yourname@example.com)
Then click Add Forwarder to save the rule.
✅ Confirmation
Your new forwarder will now appear in the list. All future messages sent to the original address will automatically be redirected to the destination address.
💡 Tip
Forwarders are great for:
-
Consolidating multiple email addresses into one inbox
-
Setting up temporary redirects (e.g. during staff absence)
-
Handling generic role-based addresses like
sales@orsupport@