Email aliases are helpful for redirecting messages to a primary mailbox — but if one is no longer needed, it can be quickly removed from the Email Control Panel.
This guide walks you through how to delete an existing alias.
🔐 Step 1: Access the Email Control Panel
If you're not already logged in, follow this guide:
👉 How to Access Your Email Control Panel
🧭 Step 2: Navigate to the Mailboxes Section
-
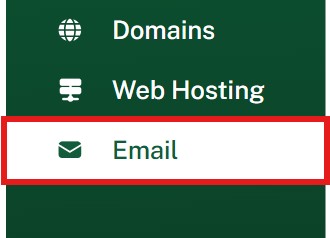
Click the Email tab in the left-hand menu
-
Make sure Mailboxes is selected

✏️ Step 3: Open Alias Management
-
Locate the mailbox that contains the alias you want to remove
-
Click the three dots (⋮) next to the mailbox
-
Select @Aliases from the dropdown

🗑 Step 4: Remove the Alias
-
A list of aliases for that mailbox will appear
-
Click the Delete icon next to the alias you want to remove
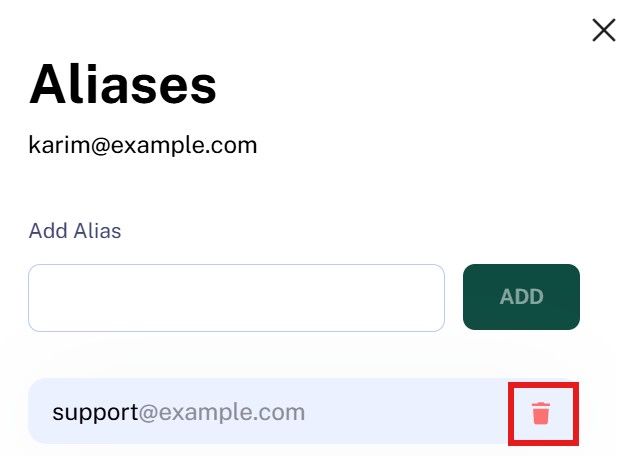
The alias will be deleted immediately and will no longer forward email to the mailbox.
✅ Done!
You’ve successfully removed the alias. Messages sent to that alias address will now be rejected unless it’s re-added or assigned elsewhere.