Whitelisting allows you to mark trusted senders or entire domains as safe — ensuring their emails are never mistakenly flagged as spam or blocked.
This is useful for making sure messages from key contacts, systems, or web forms are always delivered.
🔐 Step 1: Access the Email Control Panel
If you’re not already logged in, follow this guide:
👉 How to Access Your Email Control Panel
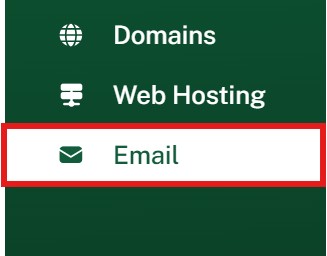
✉️ Step 2: Go to the Email Section
- From the left-hand menu, click Email
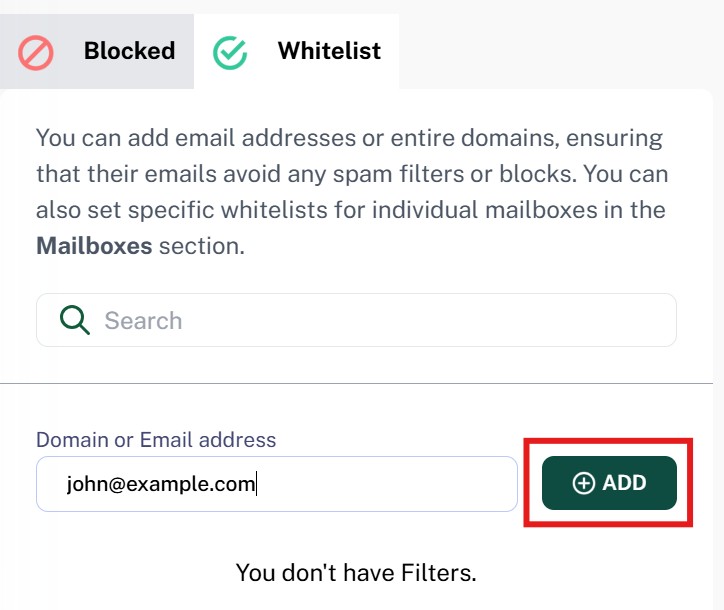
✅ Step 3: Open the Whitelist Section
-
Click the Filters button
-
Then click the Whitelist tab at the top

➕ Step 4: Add an Address or Domain
-
To allow a specific email address, enter it fully (e.g.
person@example.com) -
To allow all mail from a domain, enter it in this format:
@example.com
Then click Add to save your entry.
💡 Whitelist Use Cases
-
Ensure emails from your own website (e.g. contact forms) aren’t filtered
-
Prevent trusted senders from being marked as spam
-
Safeguard key external systems like CRM platforms, alerting tools, or order systems