Custom email filters allow you to set up specific rules to automatically manage incoming emails — such as moving them to folders, forwarding them to another address, or blocking them entirely. You can create filters based on sender, subject, content, and more.
This guide shows you how to set up a custom filter in your Email Control Panel.
🔐 Step 1: Access the Email Control Panel
If you’re not already logged in, follow this guide:
👉 How to Access Your Email Control Panel
✉️ Step 2: Open the Filters Section
-
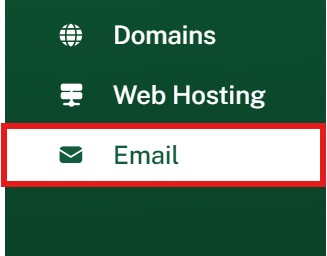
Click the Email tab in the menu
-
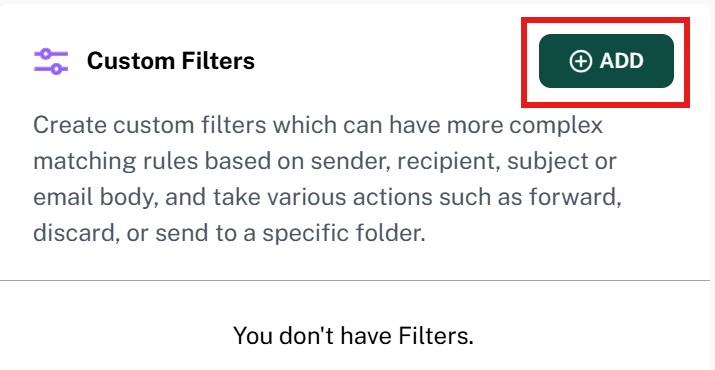
Click the Filters button

➕ Step 3: Create a New Custom Filter
- Under the Custom Filters section, click Add
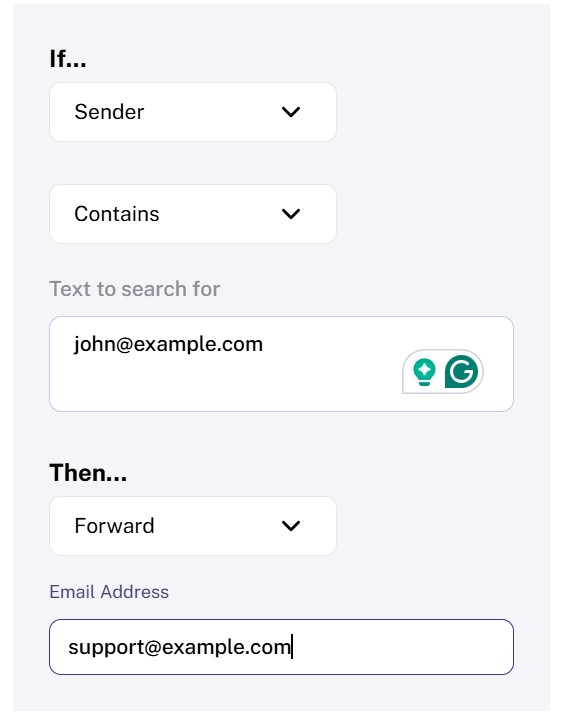
🧠 Step 4: Set Up Filter Conditions
In the “If…” section, define the rule that triggers the filter.
For example, to filter emails from a specific sender:
-
Condition: Sender
-
Match Type: Contains
-
Value:
john@example.com
You can also filter by:
-
Subject line
-
Recipient address
-
Body content
-
Header information
⚙️ Step 5: Choose What Happens
Once the rule is defined, choose an action to take when the condition is met:
-
Discard – Deletes the email automatically
-
Send to Folder – Moves the email to a chosen folder
-
Forward to Email – Sends the email to another address
You can set multiple conditions and actions for each filter.
💾 Step 6: Save Your Filter
When you're done, click Create Filter to save and activate it.
Your custom filter will now run automatically on all incoming emails.